How to configure a Menu button in a command bar
Buttons can be very useful in the *Command Bar *and can provide contextual actions related to that table or table item.
Command bar Menu button Overview
A command bar is the horizontal area containing command buttons like Save, Delete, Add new item etc. It is visible in the Explorer view of a data table.
Command bar in Table view

Command bar in Item view

Use case for menu button in command bar
Imagine you are looking at the Quotes table. You may want to perform specific actions based on the selected quotes, such as Generate an Invoice from the Quote Item or Generate a Quote PDF. There are many possible use cases as menu buttons can trigger workflows, perform remote actions and much more. (To see a full list of On-Click Actions see How to Set On-Click Actions)

Steps for adding a Menu button to a command bar
-
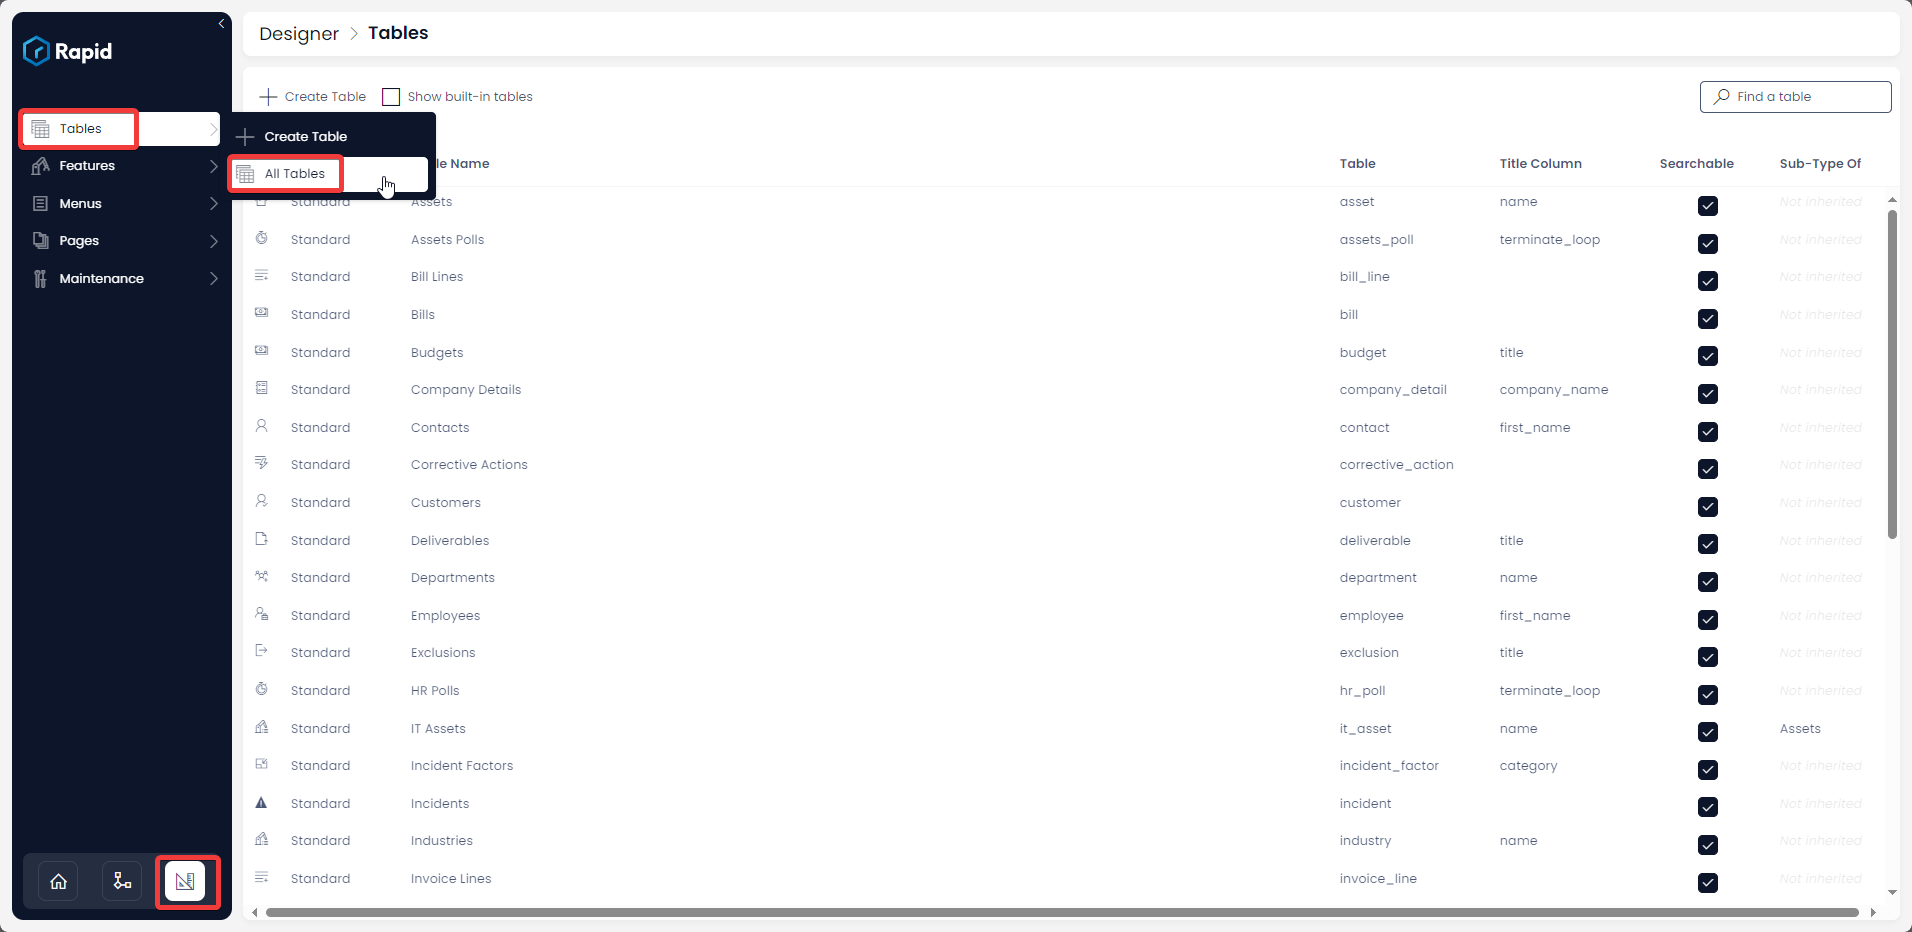
Navigate to Designer > Tables
-
Open the table you wish to add the menu button to from the tables list
-
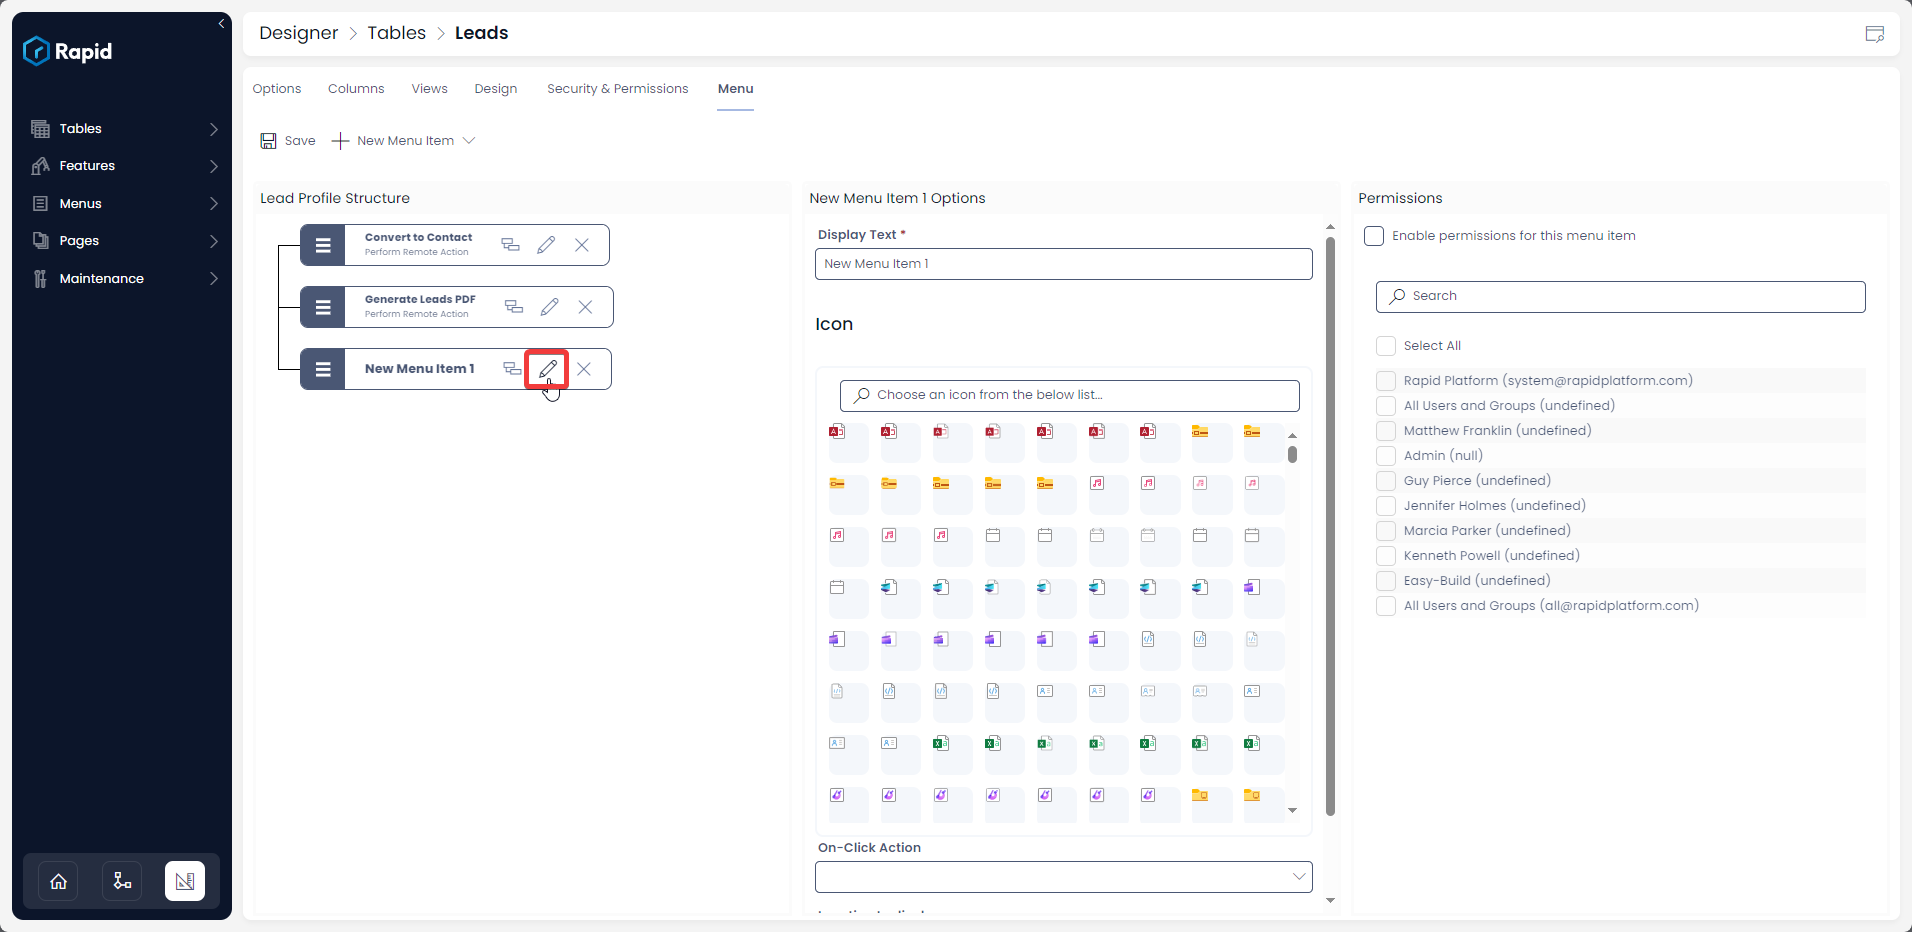
Select the Menu Tab

-
Select New Menu Item > New Blank Item
-
Press the edit button on the newly created menu item
-
Provide appropriate display text and icon

-
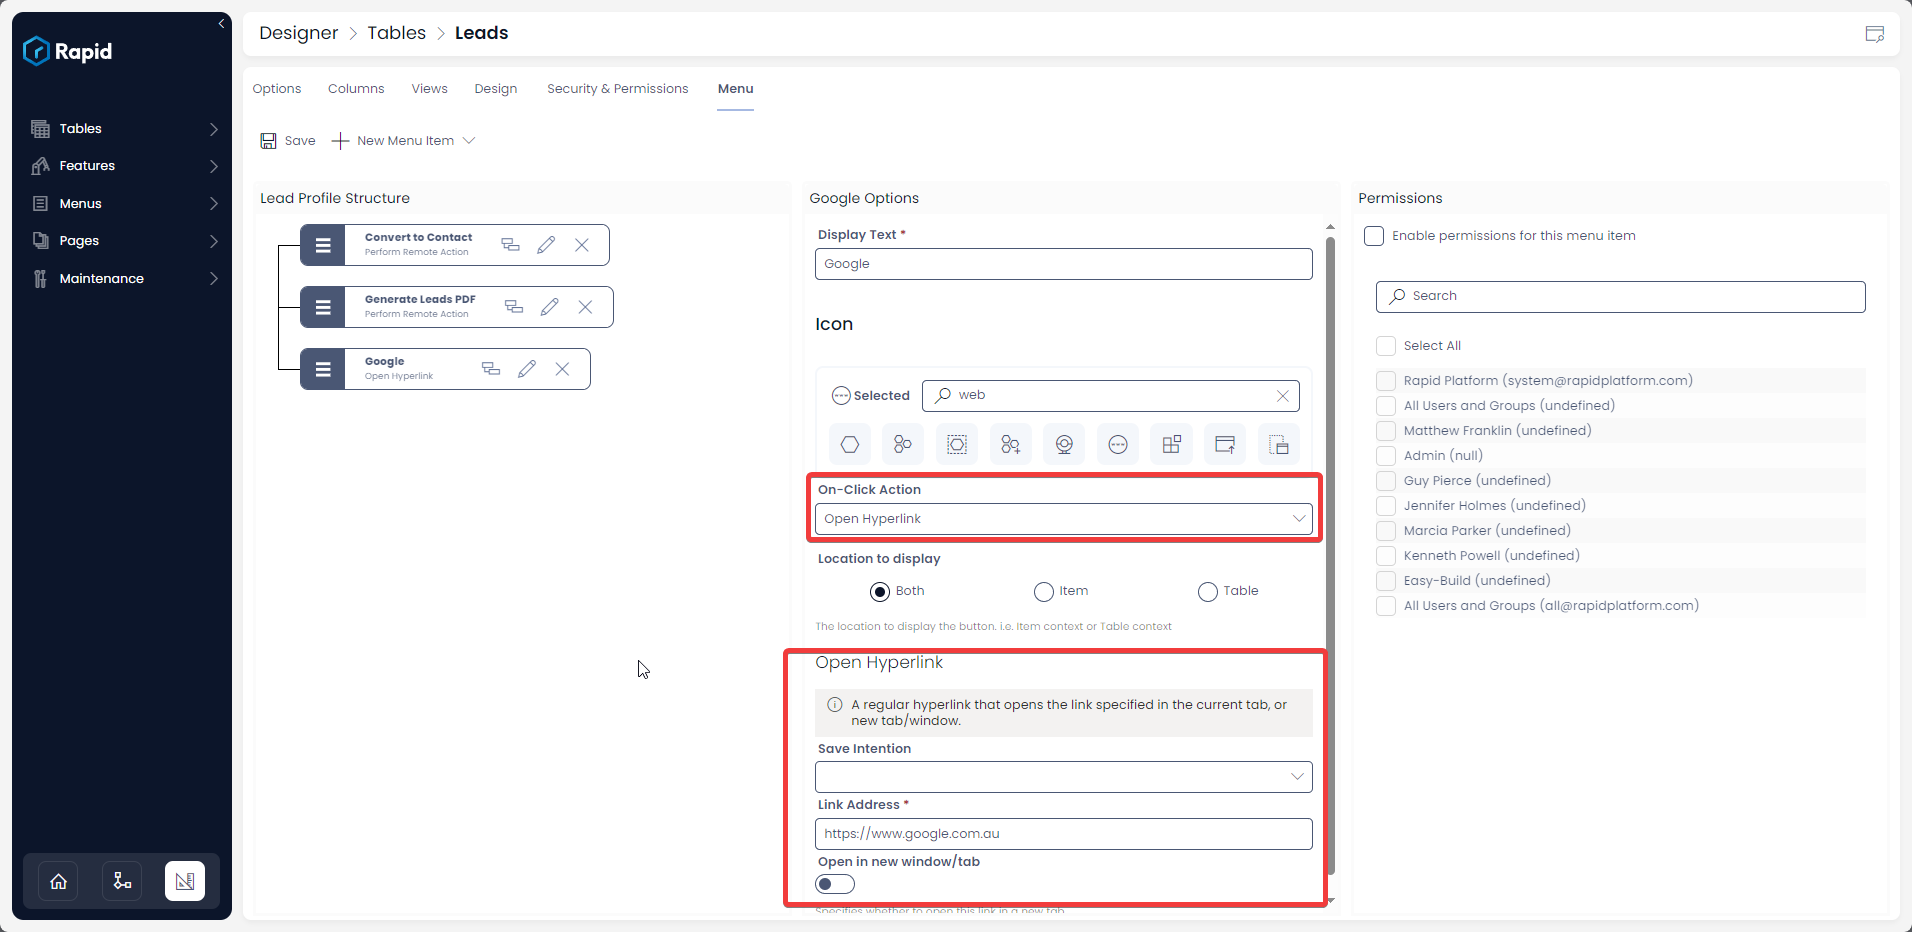
Configure your desired On-Click Action (See How to Set On-Click Actions for more details on how to configure these for your use case
-
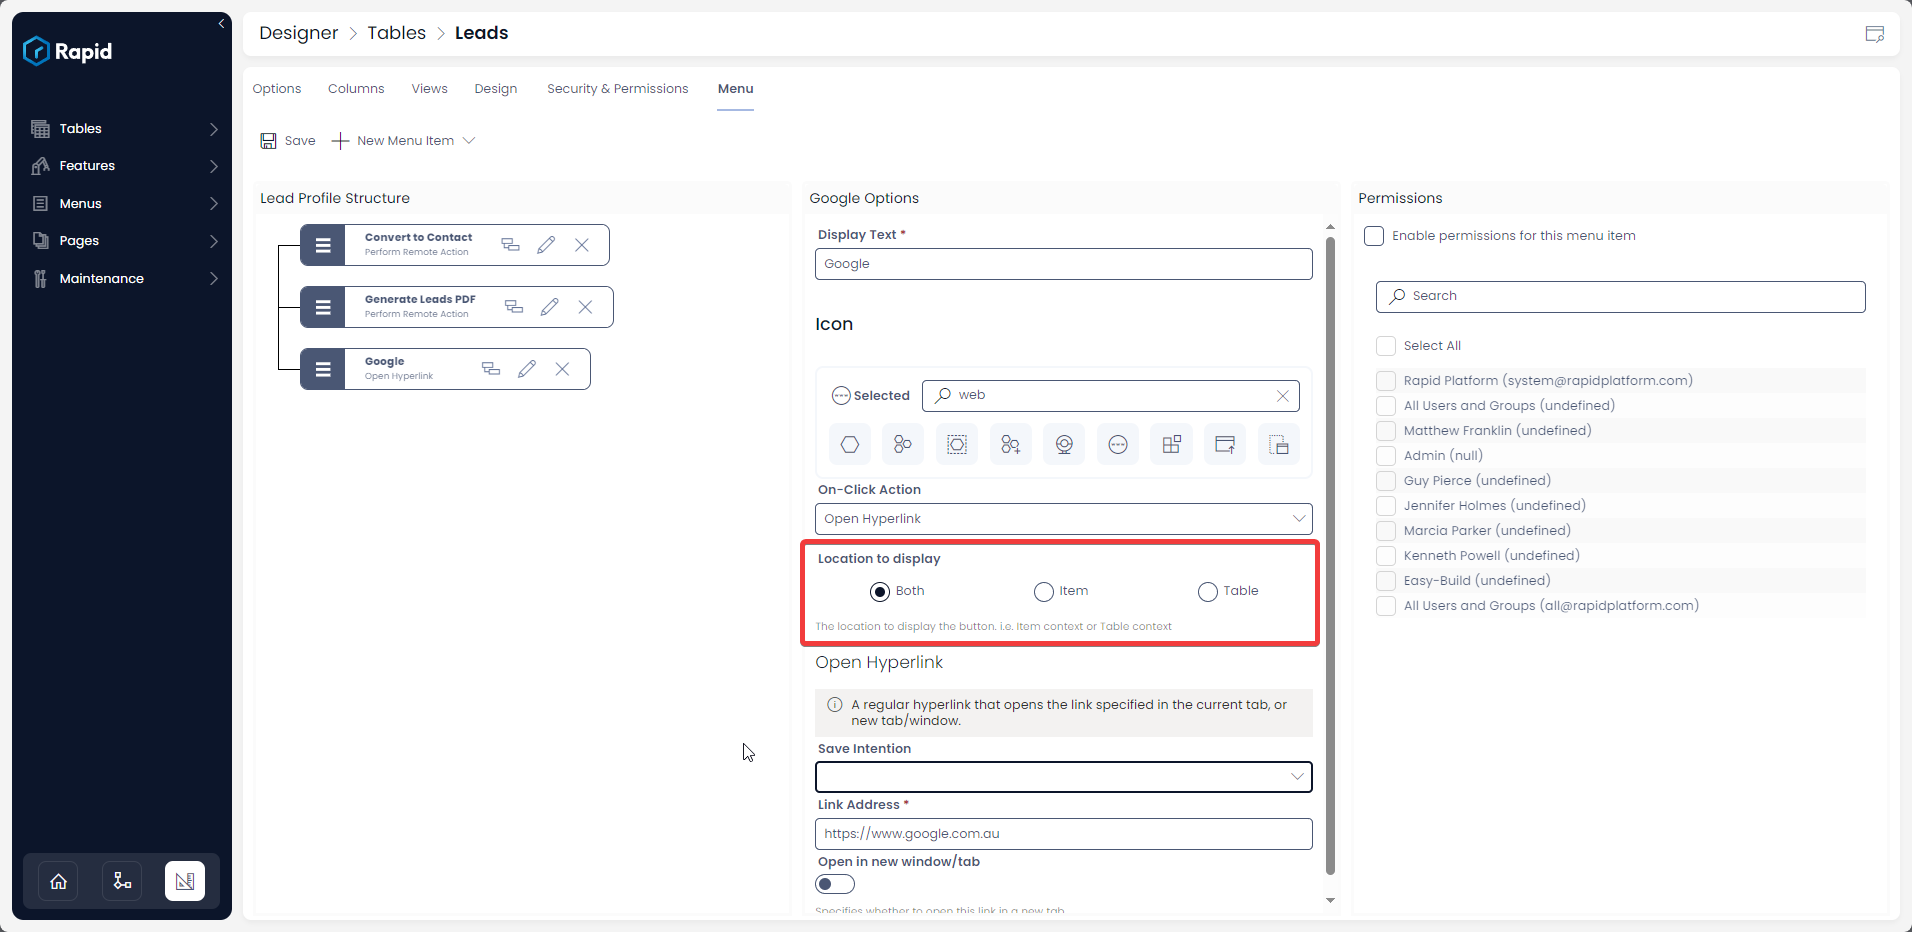
Set the Location to Display (See What is Location to Display option in a Menu setup? for more details)
-
Press Save
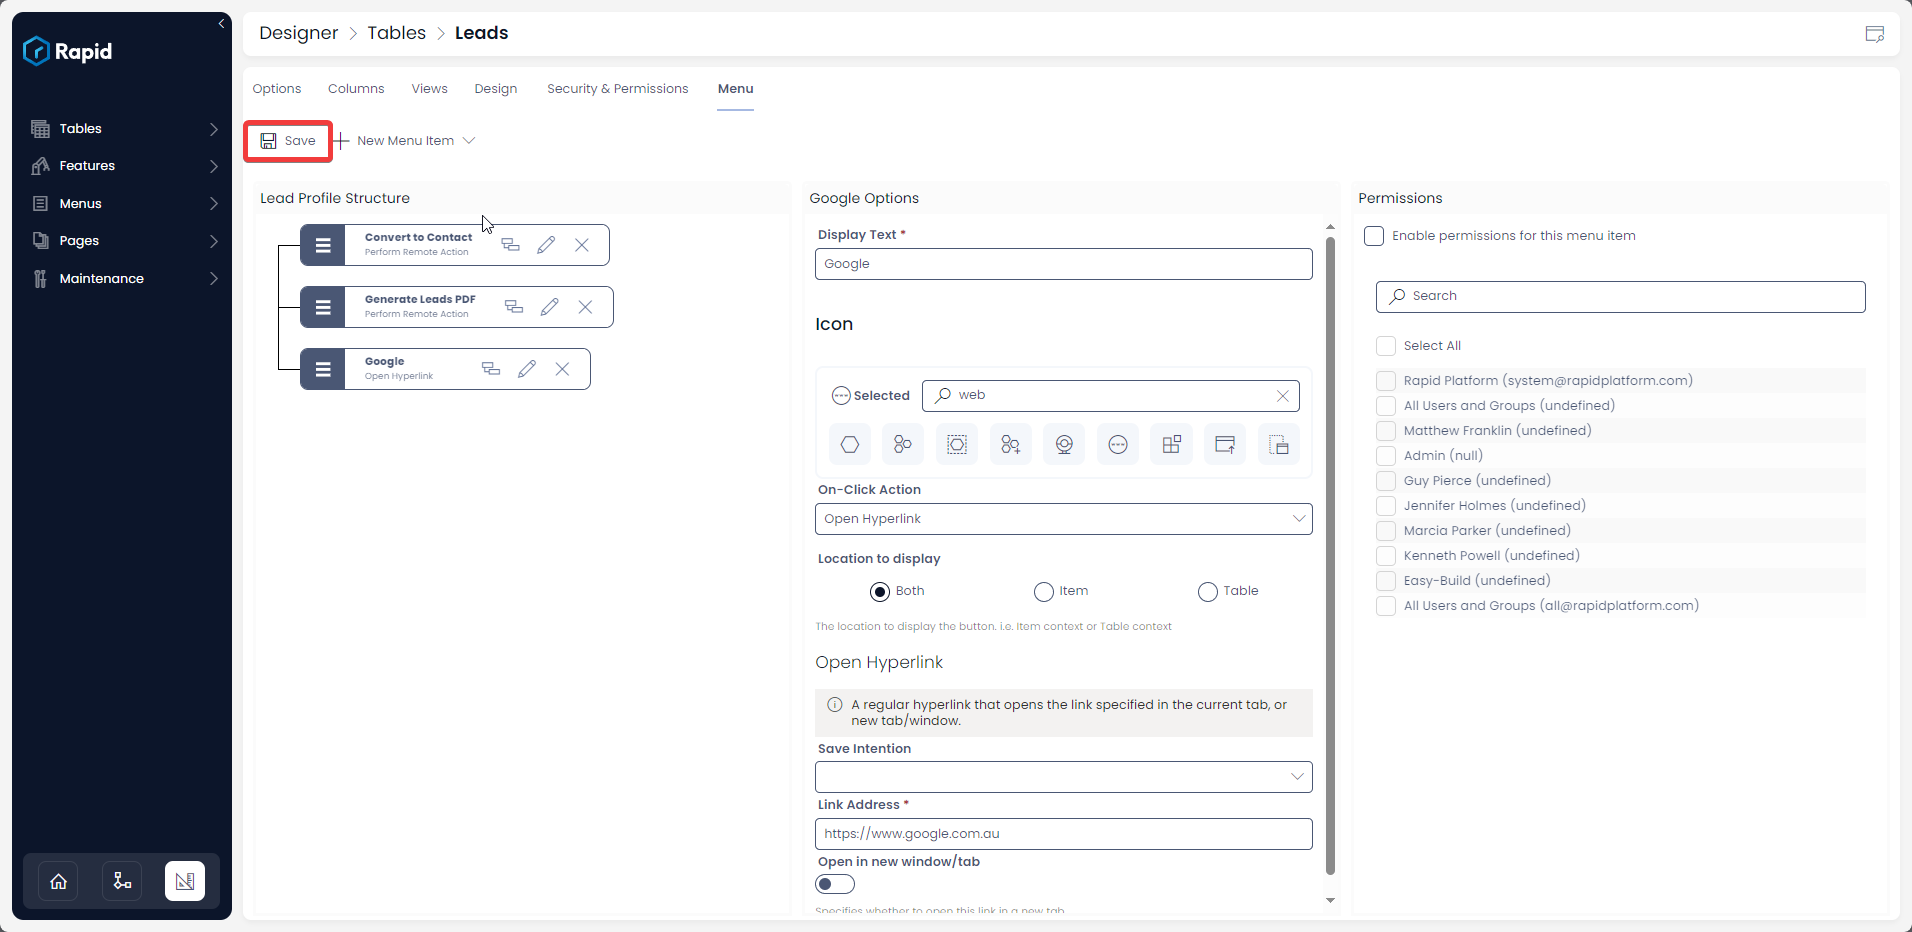
-
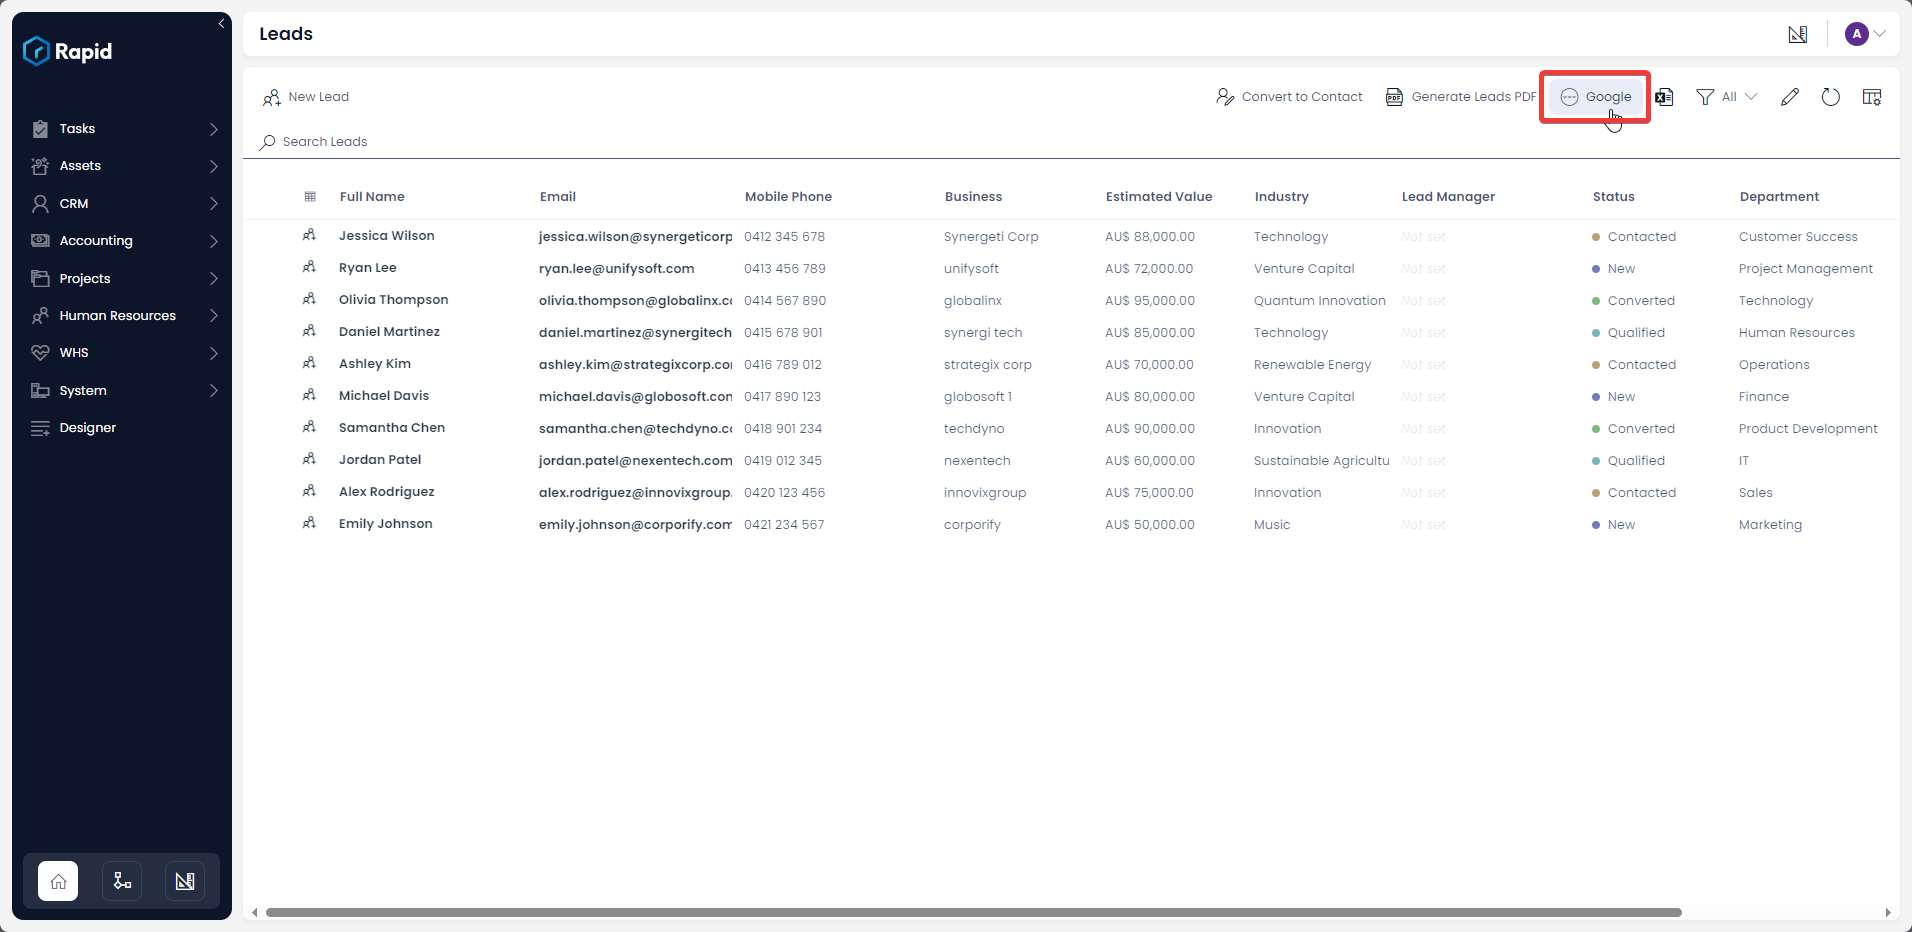
Navigate to the table and test the button
Related article
How to see all the menu buttons created in Command Bar of all Tables?